You are using an out of date browser. It may not display this or other websites correctly.
You should upgrade or use an alternative browser.
You should upgrade or use an alternative browser.
1984 S10, an ongoing evolution
- Thread starter Andrew S
- Start date
Andrew S
New member
Re: 1984 S10, an ongoing evolution
It's been a long time with out much going on. I'll try and catch this up to the current moment.
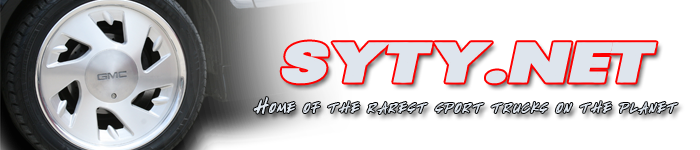
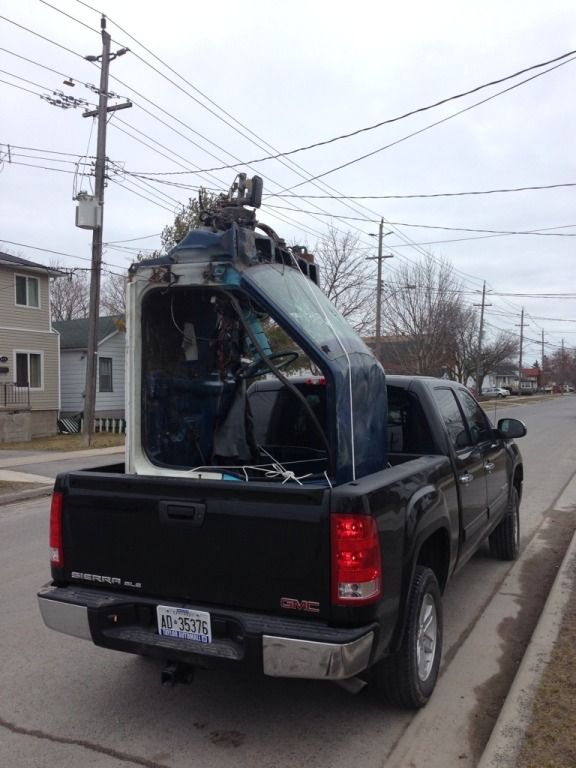
we picked this up,
It's going to be so nice and convenient to be able to work on stuff at home now,
I think we got a really nice deal on it too. Came with a collet set and mitutuyo read out and some other misc things. After gas and the farmer next door helping us unload we have just over $2000 into it.
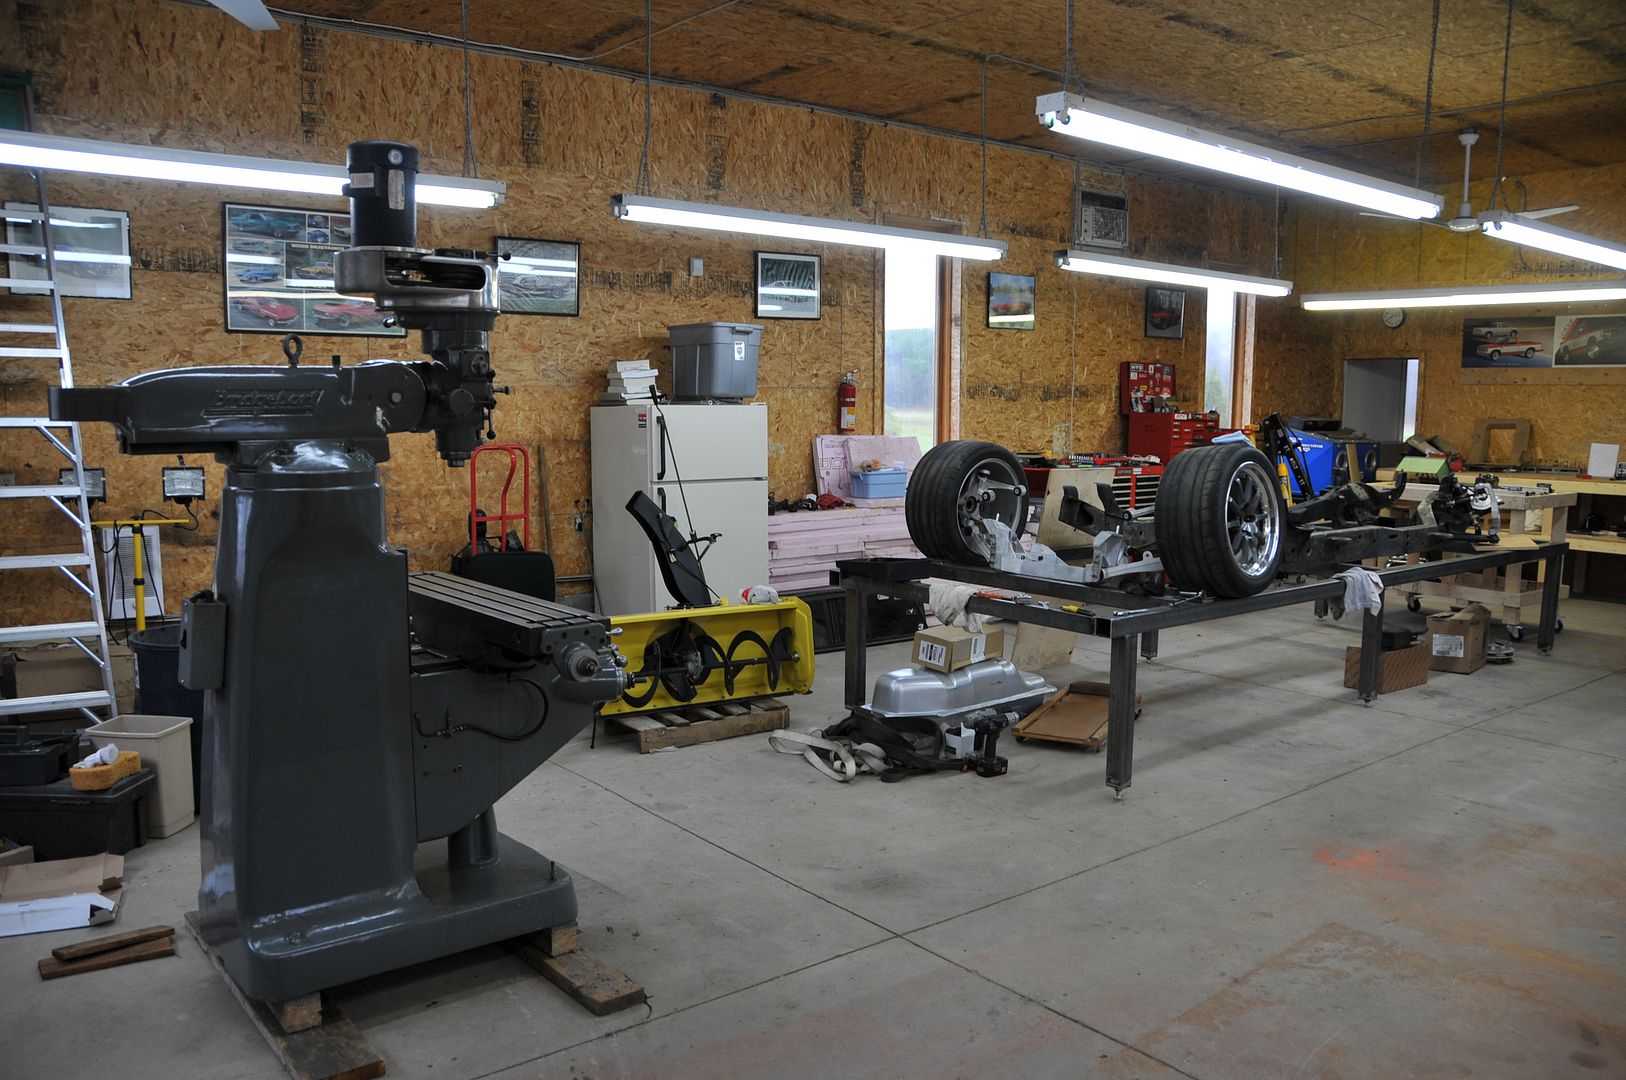
next up we got the mill situated,

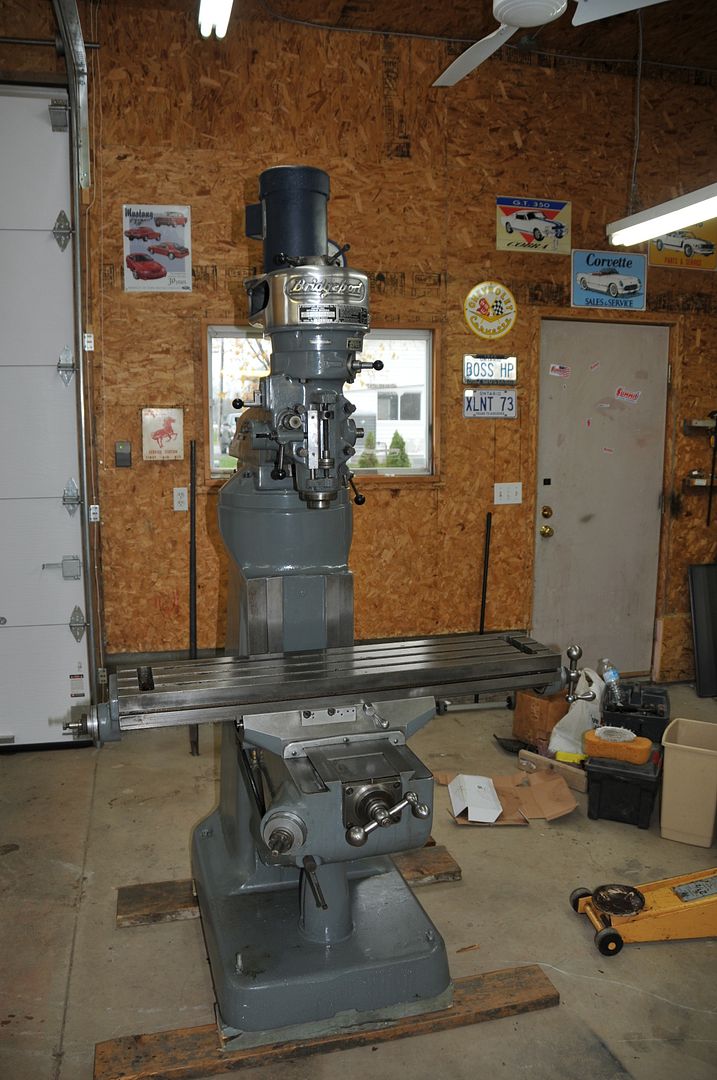
also working on getting the new shop heaters installed,
I know the next steps I'm going to take on the front end but time is very limited right now

Picked up a cab for mock up
Then set about installing the brake bias adjuster


bought a double flare kit but the thing is such a piece of shit. It bend the second time we did a flare and it's just a sloppy china made tool. We'll have to find something better.
So I modified the bracket for the adjustable proportioning valve and it sits like this for now.


pulled the cab inside and stripped it down,

I noticed the 4 most forward mounts, have rusted and the plates that were initially welded to floor have come loose and just spin now. This is the exact problem I'm having with the '84's mounts.


The cab floor is down to about 90lbs now which makes it so easy to move around. I stole this idea from Harley which I've got to say is a brilliant one. When it comes time to place the motor and clearance for it. Instead of lifting the motor/trans in and out a bunch of times to clearance the cab for it now we can just lift the floor up and down until everything clears nice and neatly. Also the floor is solid and will make for great patch panels for the '84.
Back to the cab mounts. The easiest way I can figure to go about this is to cut the floor inside the cab and repair the mounts from there and then patch it back up.
So I started pulling the interior,


I've got to do some prep before I start cutting but hopefully progress will be made this week.
The weather we've been having sure makes me appreciate having a nice big warm shop to work in...


got a little bit more done, emphasis on "little"


,
I finally got around to fixing the cab mounts on the truck.


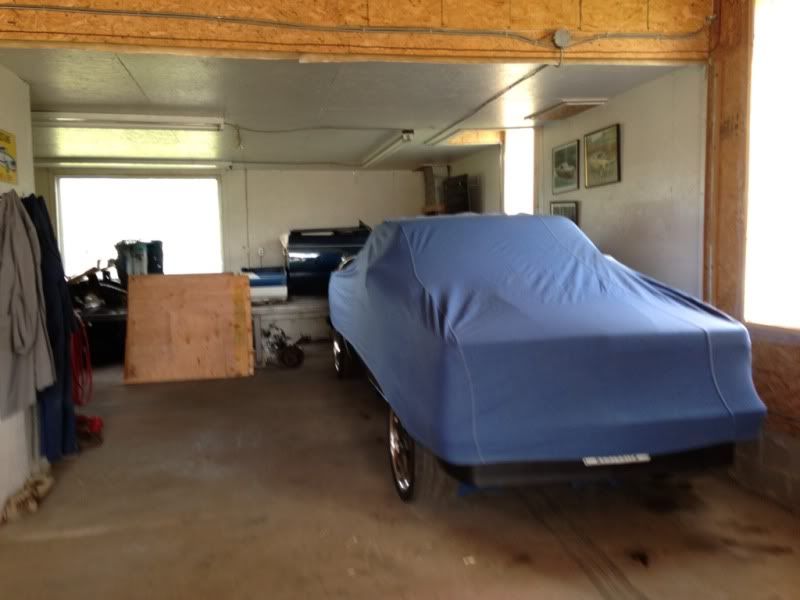
I moved everything around in the shop to minimize the space I was taking up for my dad.

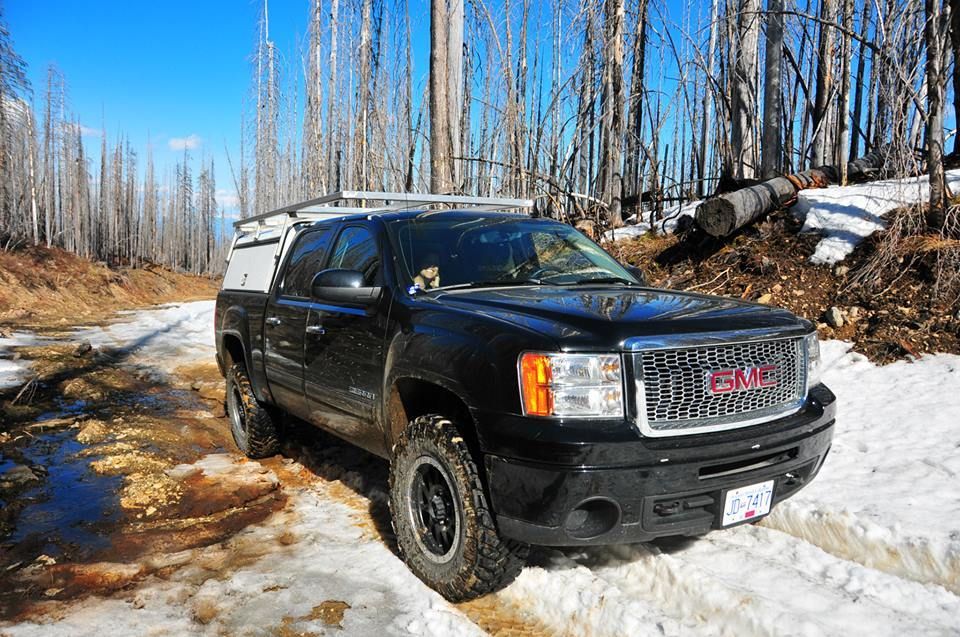
I sold the colorado and bought a sierra. Got tired of the 4'5" bed on the colorado.


Levelled it, colour matched a few things, took a few things off and put some better rubber on it.


At this point the wife and I packed our things, bought a small trailer and decided to move 5000km's away from ontario to British Columbia and left the '84 at my dads place. It sucks to leave it behind but hopefully one day soon I can go back and get it and continue working on this project. For now, I hate to say, it's a stand still until I get my own place out here with a garage to put it in.

and now this is where I'm at,

The '84 sat like this for 2 years.
The sierra has been a great vehicle thus far.


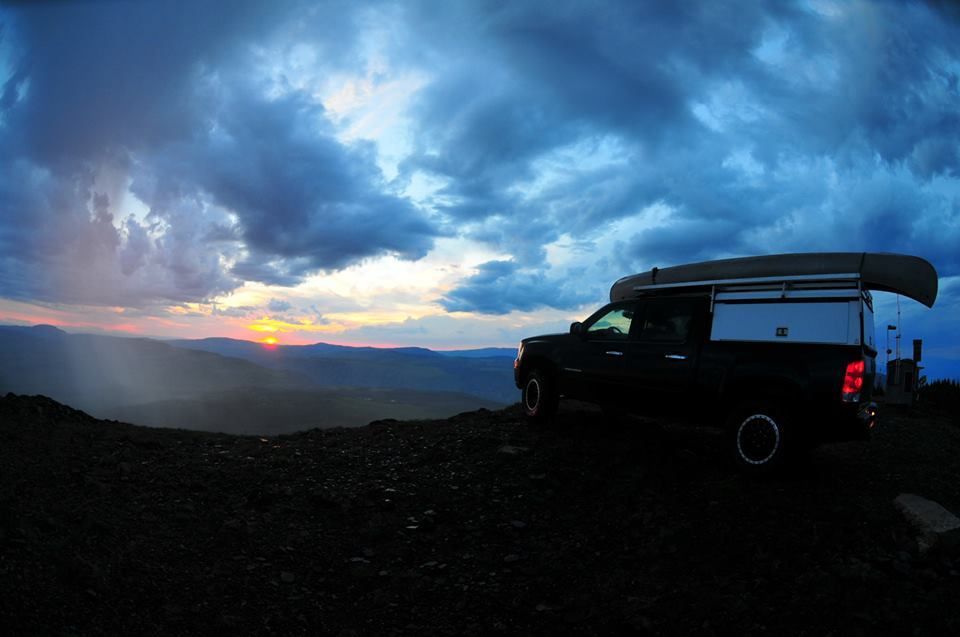
I bought a contractor canopy and built an aluminum rack for our canoe. It was a great rig for camping but I'm going to be doing a lot of commuting now back and fourth so I sold it. Going to build an all aluminum rack for the canoe that's a little lighter.

It's been a long time with out much going on. I'll try and catch this up to the current moment.
we picked this up,
It's going to be so nice and convenient to be able to work on stuff at home now,
I think we got a really nice deal on it too. Came with a collet set and mitutuyo read out and some other misc things. After gas and the farmer next door helping us unload we have just over $2000 into it.
next up we got the mill situated,
also working on getting the new shop heaters installed,
I know the next steps I'm going to take on the front end but time is very limited right now
Picked up a cab for mock up
Then set about installing the brake bias adjuster
bought a double flare kit but the thing is such a piece of shit. It bend the second time we did a flare and it's just a sloppy china made tool. We'll have to find something better.
So I modified the bracket for the adjustable proportioning valve and it sits like this for now.
pulled the cab inside and stripped it down,
I noticed the 4 most forward mounts, have rusted and the plates that were initially welded to floor have come loose and just spin now. This is the exact problem I'm having with the '84's mounts.
The cab floor is down to about 90lbs now which makes it so easy to move around. I stole this idea from Harley which I've got to say is a brilliant one. When it comes time to place the motor and clearance for it. Instead of lifting the motor/trans in and out a bunch of times to clearance the cab for it now we can just lift the floor up and down until everything clears nice and neatly. Also the floor is solid and will make for great patch panels for the '84.
Back to the cab mounts. The easiest way I can figure to go about this is to cut the floor inside the cab and repair the mounts from there and then patch it back up.
So I started pulling the interior,
I've got to do some prep before I start cutting but hopefully progress will be made this week.
The weather we've been having sure makes me appreciate having a nice big warm shop to work in...
got a little bit more done, emphasis on "little"
,
I finally got around to fixing the cab mounts on the truck.
I moved everything around in the shop to minimize the space I was taking up for my dad.
I sold the colorado and bought a sierra. Got tired of the 4'5" bed on the colorado.
Levelled it, colour matched a few things, took a few things off and put some better rubber on it.
At this point the wife and I packed our things, bought a small trailer and decided to move 5000km's away from ontario to British Columbia and left the '84 at my dads place. It sucks to leave it behind but hopefully one day soon I can go back and get it and continue working on this project. For now, I hate to say, it's a stand still until I get my own place out here with a garage to put it in.
and now this is where I'm at,
The '84 sat like this for 2 years.
The sierra has been a great vehicle thus far.
I bought a contractor canopy and built an aluminum rack for our canoe. It was a great rig for camping but I'm going to be doing a lot of commuting now back and fourth so I sold it. Going to build an all aluminum rack for the canoe that's a little lighter.
Andrew S
New member
Re: 1984 S10, an ongoing evolution
I've been living in bc for a couple years now and the '84 has just sat stagnant for that period of time. I'm on vacation back home for 3 weeks however and have been picking away at it during that time. It feels so good to work on this truck again. I'll try and catch this build thread up a bit.
Got it down off the jacks and changed out the tires. My dads finally starting to get his boss together.


First thing was get the interior back in it. I installed the new carpet (royal pain in the ass) and the nos gm headliner (so easy)
Wiped down the entire cab and got the last of the sulphate out of there from when the fire extinguisher blew.
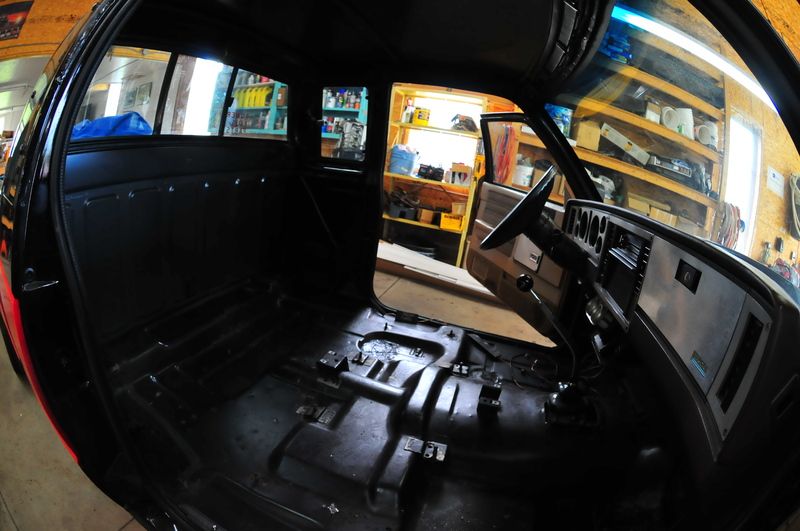


carpet and headliner in, the carpet took a while but it contoured to floor nicely after a few days,


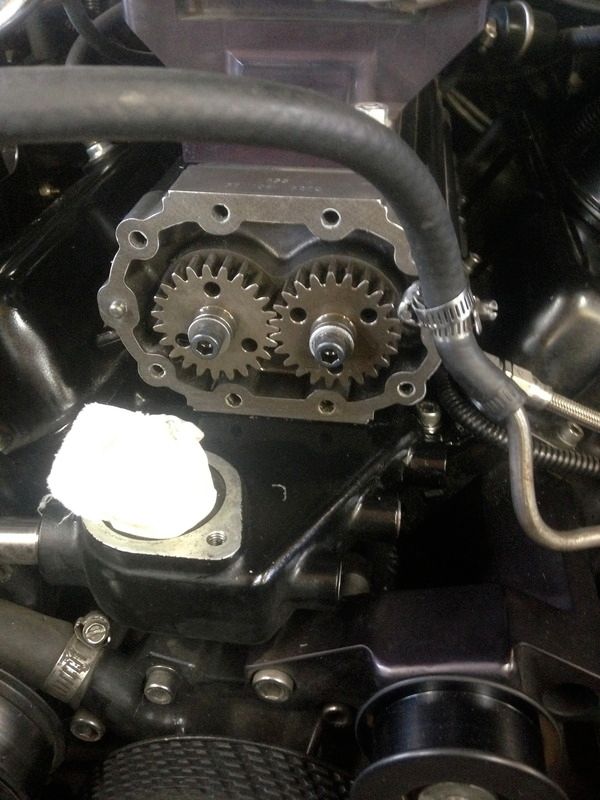
next on the list was fix the oil leak on the blower snout,

When I resealed it I just simply did a poor job and there was a spot on the left side where it was weeping out of.


Good thing I did this when I did. When I took the snout apart I noticed the new seal I replaced was ripped as well. So I went and picked up another bearing and seal.


Next on the list was a shitty one. Replace the tahoe badge on the passenger fender. The only way to do this is to remove the fender and pretty much the entire front end.


Then while I was at it I finally deleted the rest of the A/C system in favour a small heater box.

I had to do a little trimming to make my old a/c resistor fit in the new box. I would have rewired the plug but I didn't have a heat only resistor so this was cheaper/easier. Pretty easy install aside from the blower motor/squirrel cage. I read here that all you had to do was swap out the fans/squirrel cages and you could reuse your old blower motor. The heat only fan is much shorter and damn near fits. However when you try to bolt it on it hits the firewall. In my case I had to use the heat only motor and squirrel cage.


all back together,

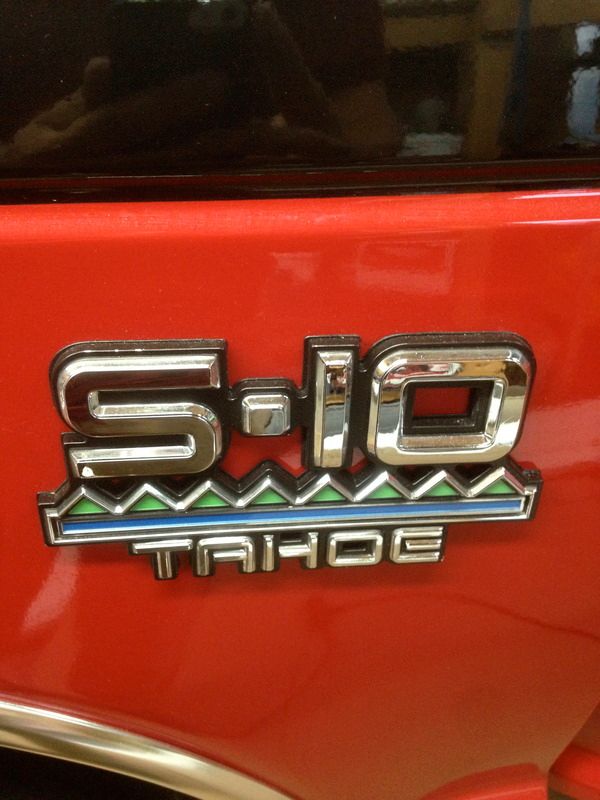
only to see this 2 days later,

yup the ****er broke off once again. I'm really not sure why this has happened twice. The first time I thought I over tightened the tabs. This time I put some silicone grease on them and very gently snugged them up. Needless to say I won't be doing this again.
not the way I wanted to do it but enough was enough.

I've got a few more bugs to work out of the '84. The big one is it's running incredibly rich, I'm lucky to get 250km's out of a tank. I've got to check the power valve, but I'm afraid that's not it. Lastly it will not come up to operating temp when driving it. I've got a 192f thermostat in it and the highest it will reach cruising around is 170. This is confirmed with an infrared thermometer on the housing and I've replaced the thermostat twice already. Need to look into it more.
Lastly the big news is that I will be moving the truck, all of the spare parts and a bunch of tools out to BC with me so I can finally get started assembling the rolling chassis.
I've been living in bc for a couple years now and the '84 has just sat stagnant for that period of time. I'm on vacation back home for 3 weeks however and have been picking away at it during that time. It feels so good to work on this truck again. I'll try and catch this build thread up a bit.
Got it down off the jacks and changed out the tires. My dads finally starting to get his boss together.
First thing was get the interior back in it. I installed the new carpet (royal pain in the ass) and the nos gm headliner (so easy)
Wiped down the entire cab and got the last of the sulphate out of there from when the fire extinguisher blew.
carpet and headliner in, the carpet took a while but it contoured to floor nicely after a few days,
next on the list was fix the oil leak on the blower snout,
When I resealed it I just simply did a poor job and there was a spot on the left side where it was weeping out of.
Good thing I did this when I did. When I took the snout apart I noticed the new seal I replaced was ripped as well. So I went and picked up another bearing and seal.
Next on the list was a shitty one. Replace the tahoe badge on the passenger fender. The only way to do this is to remove the fender and pretty much the entire front end.
Then while I was at it I finally deleted the rest of the A/C system in favour a small heater box.
I had to do a little trimming to make my old a/c resistor fit in the new box. I would have rewired the plug but I didn't have a heat only resistor so this was cheaper/easier. Pretty easy install aside from the blower motor/squirrel cage. I read here that all you had to do was swap out the fans/squirrel cages and you could reuse your old blower motor. The heat only fan is much shorter and damn near fits. However when you try to bolt it on it hits the firewall. In my case I had to use the heat only motor and squirrel cage.
all back together,
only to see this 2 days later,
yup the ****er broke off once again. I'm really not sure why this has happened twice. The first time I thought I over tightened the tabs. This time I put some silicone grease on them and very gently snugged them up. Needless to say I won't be doing this again.
not the way I wanted to do it but enough was enough.
I've got a few more bugs to work out of the '84. The big one is it's running incredibly rich, I'm lucky to get 250km's out of a tank. I've got to check the power valve, but I'm afraid that's not it. Lastly it will not come up to operating temp when driving it. I've got a 192f thermostat in it and the highest it will reach cruising around is 170. This is confirmed with an infrared thermometer on the housing and I've replaced the thermostat twice already. Need to look into it more.
Lastly the big news is that I will be moving the truck, all of the spare parts and a bunch of tools out to BC with me so I can finally get started assembling the rolling chassis.
blacktyaffair
Donating Member
Re: 1984 S10, an ongoing evolution
$2000!? How do you sleep at night knowing you stole it? :tup:
$2000!? How do you sleep at night knowing you stole it? :tup:
Sethamillion
New member
Re: 1984 S10, an ongoing evolution
update on that IFS?
update on that IFS?