Andrew S
New member
Hello guys,
My name is Andrew and I'm from Ontario Canada.
This has been an ongoing project for a little over 3 years now. My father and I both enjoy working on it together. Over that time I've learned quite a bit from him and reading articles online. To be honest when I originally started working on this truck I couldn't properly change a tire.
I have a thread over on s10 forum and I'll copy/paste bits and pieces to get caught up today.
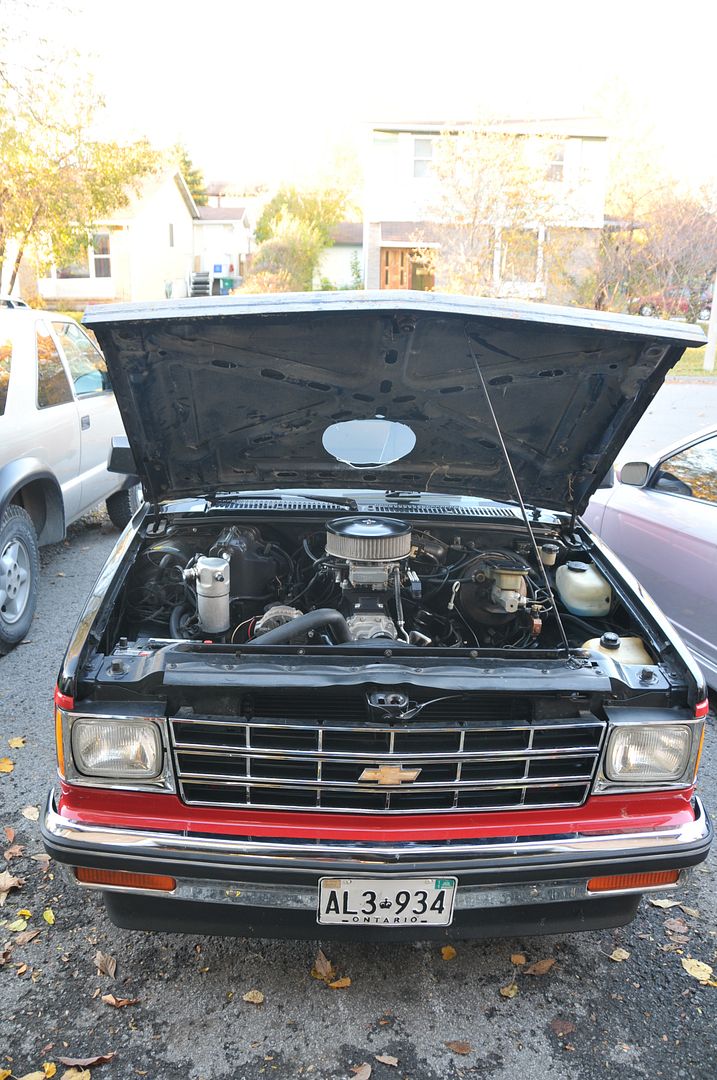
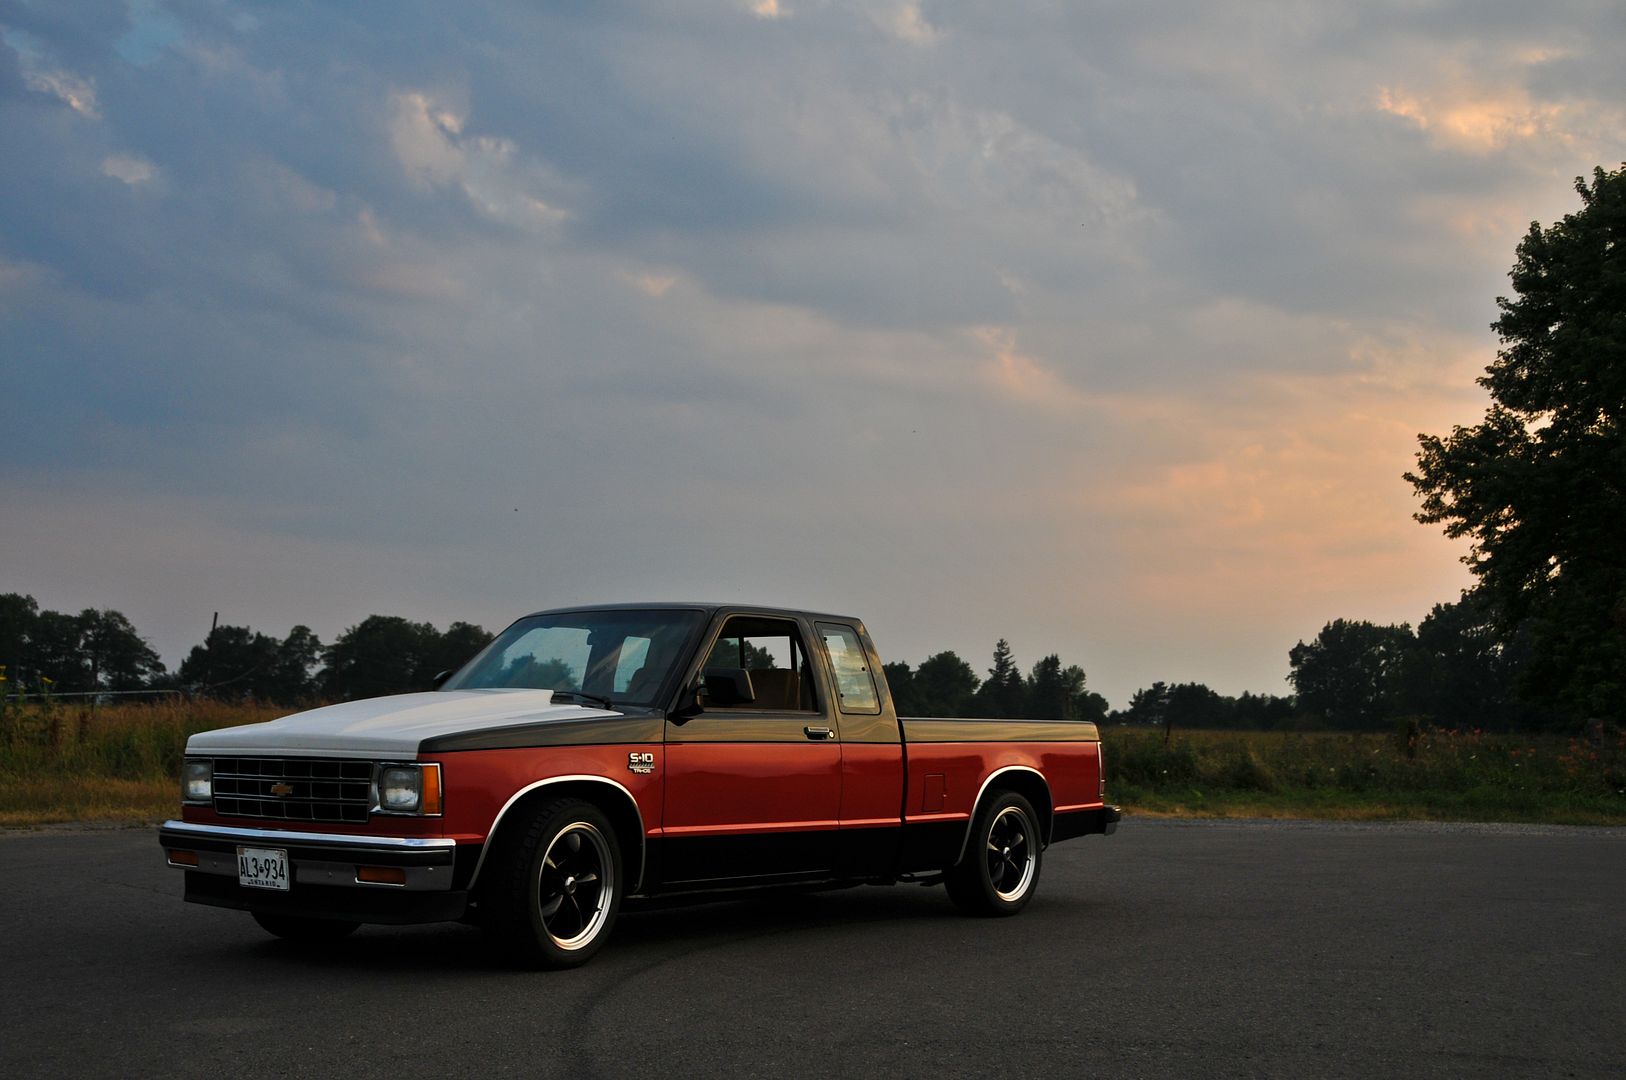
My dad purchased this '84 S10 brand new from GM. It was the only brand new car he has ever bought and I grew up riding around in it.
A couple days after he received it,


After 20 or so years of a fairly hard life and 360,000 kms the little 2.8 was very tired and the truck was getting to a point where it wasn't very drivable especially in the winter. It sat for a couple of years in my Grandma's driveway while my dad decided what he wanted to do with it. He contemplated trading it in for another truck or selling it but it held quite a bit of sentimental value.


At this point and time I was getting to the age where I had saved a little bit of money and was shopping around for cars. I was looking at everything from silvia's to old beat up mustangs. After a while of looking and not finding anything I could really see myself in, one day my dad said he was thinking about selling the '84. I had quite the sentimental attachment to the truck as well. So I told him not to and that I would sink the money into it that I had saved and we could rebuild the 2.8, something he had wanted to do for quite some time.
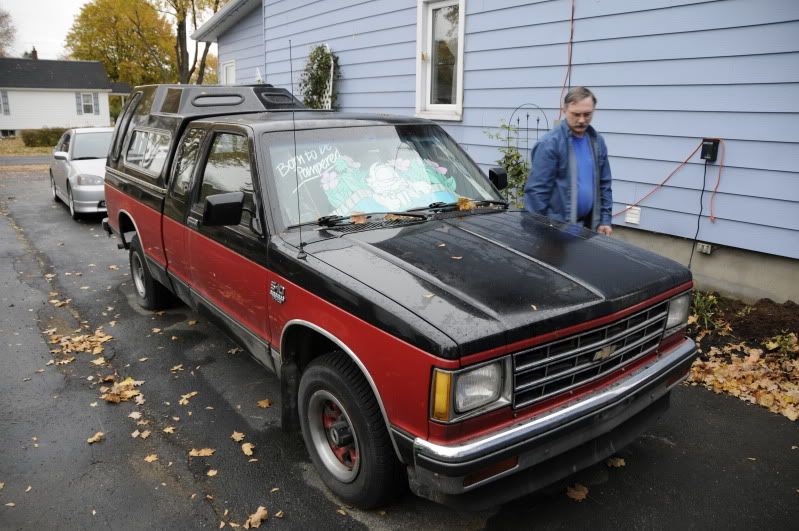
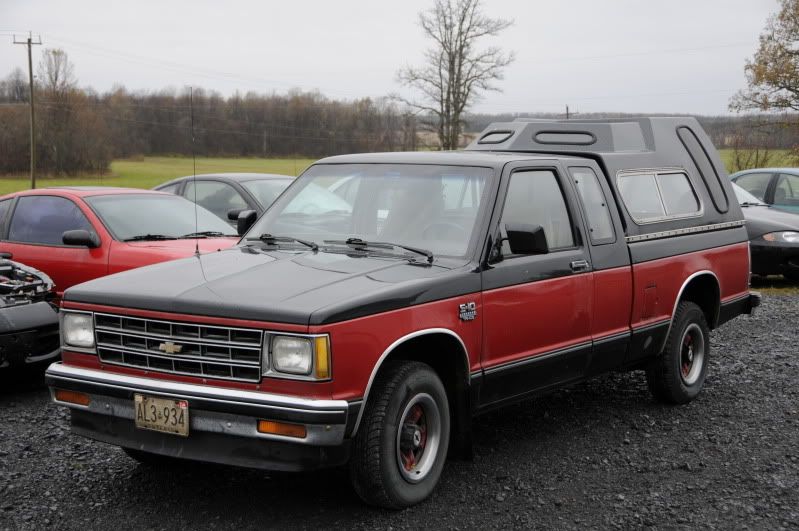
So here is the truck as it sat at my grandma's
The plan at this point was rebuild the 2.8 with a bit more pep and get the truck to a point where it was reliable again. Little did I know what I was really getting myself into.
We brought the truck to a very good friend of my fathers, Sheldon, who conveniently builds high performance motors for a living,
Sheldon has a very large shop with everything we could ever need,

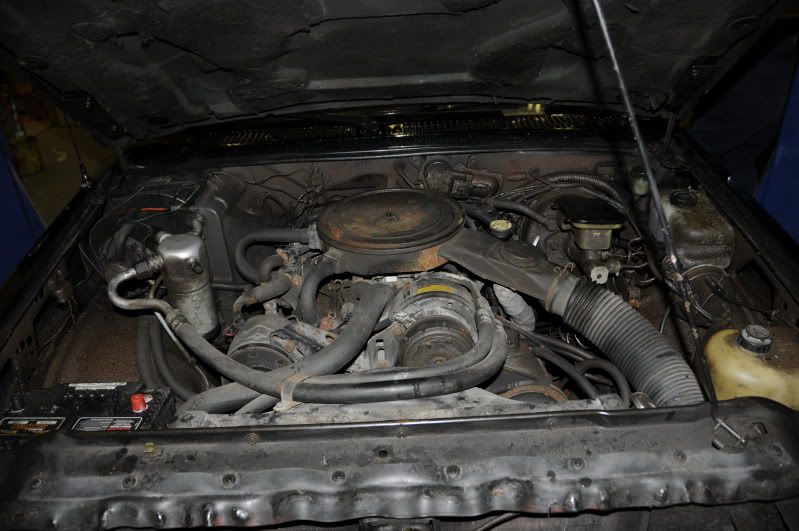
The very tired 2.8,
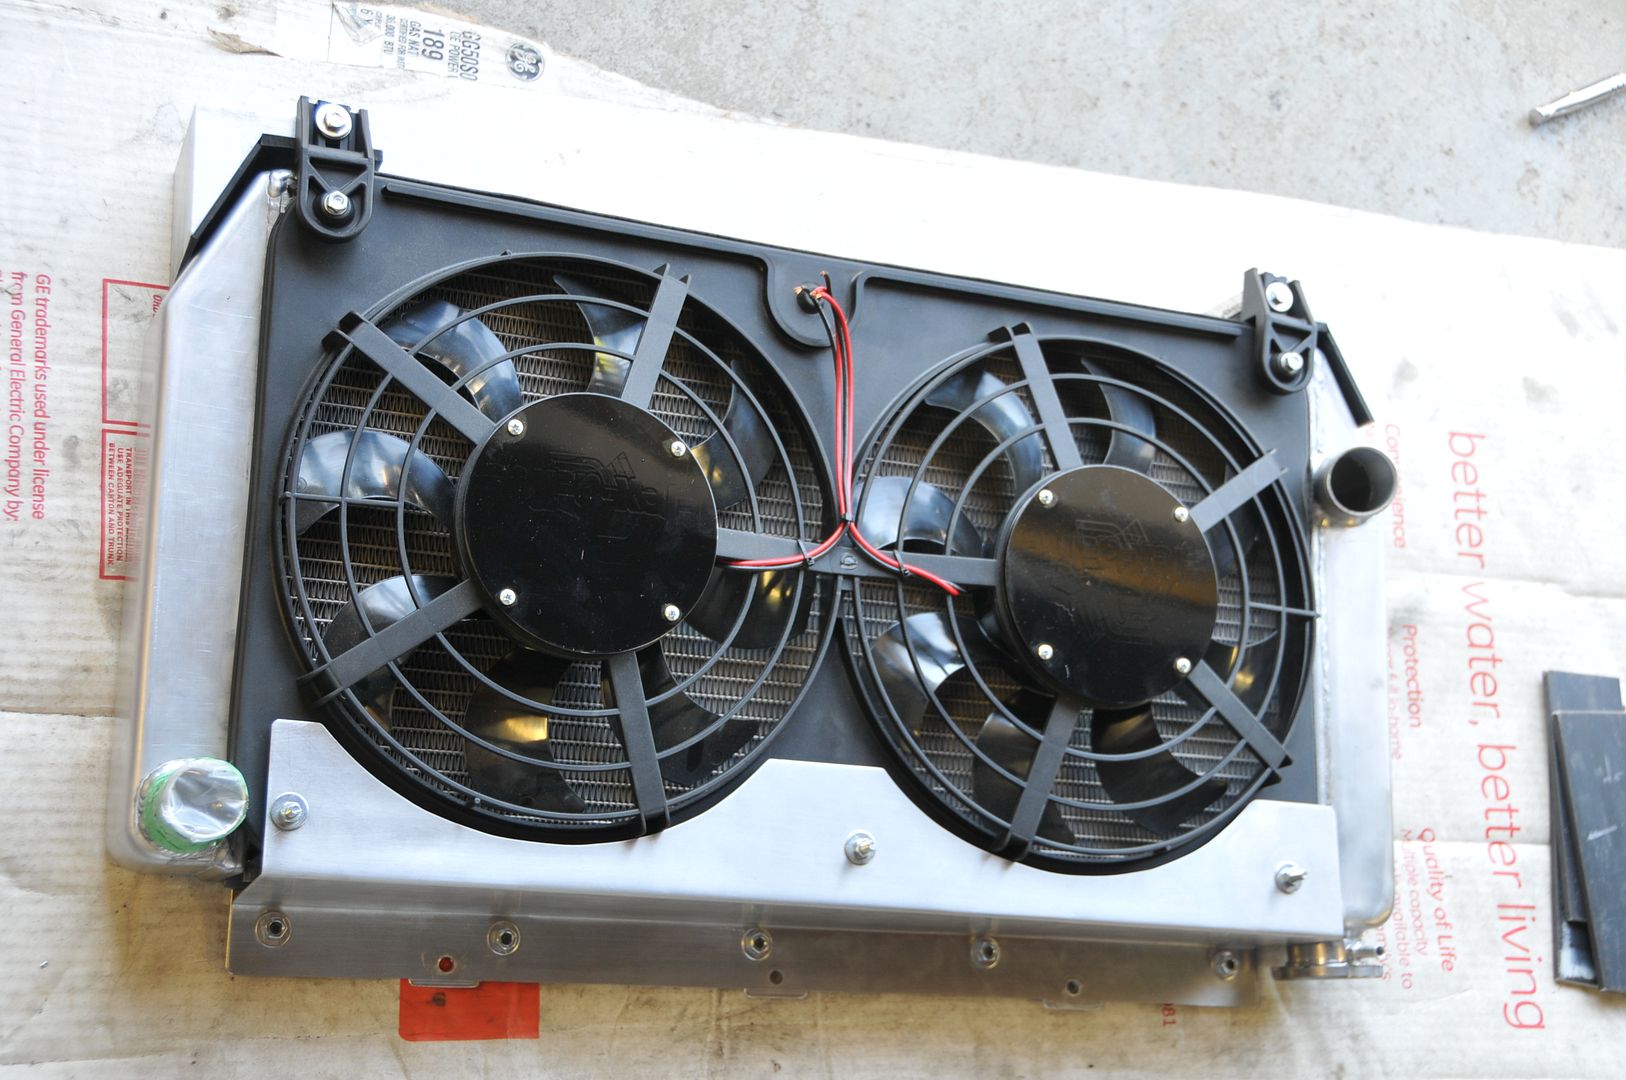
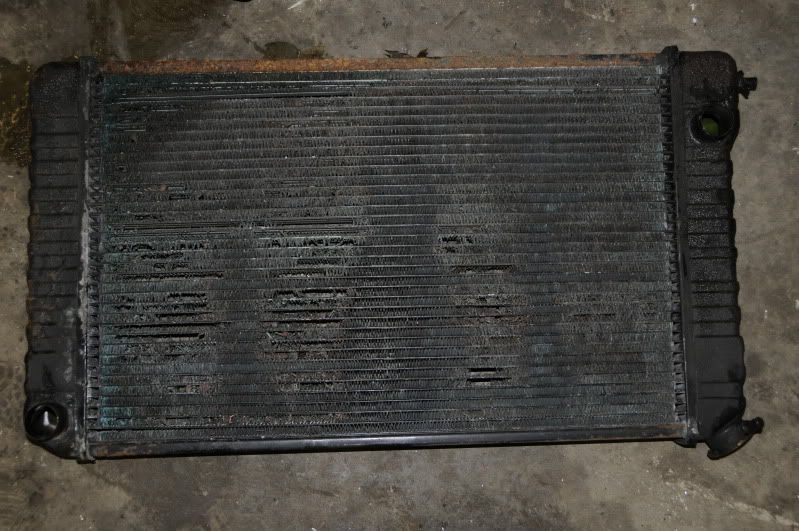
rad was toast

This is my father, he'll be in a handful of the pictures.


around this time I bought my dog Kayla,


over the course of many weekends we tore down and rebuilt it,


The plan was;
2.8 block, bored/stroked to 3.2
heads are off a 2.8fi Camaro, 1/8" bigger valves
3/4 cam lifter kit
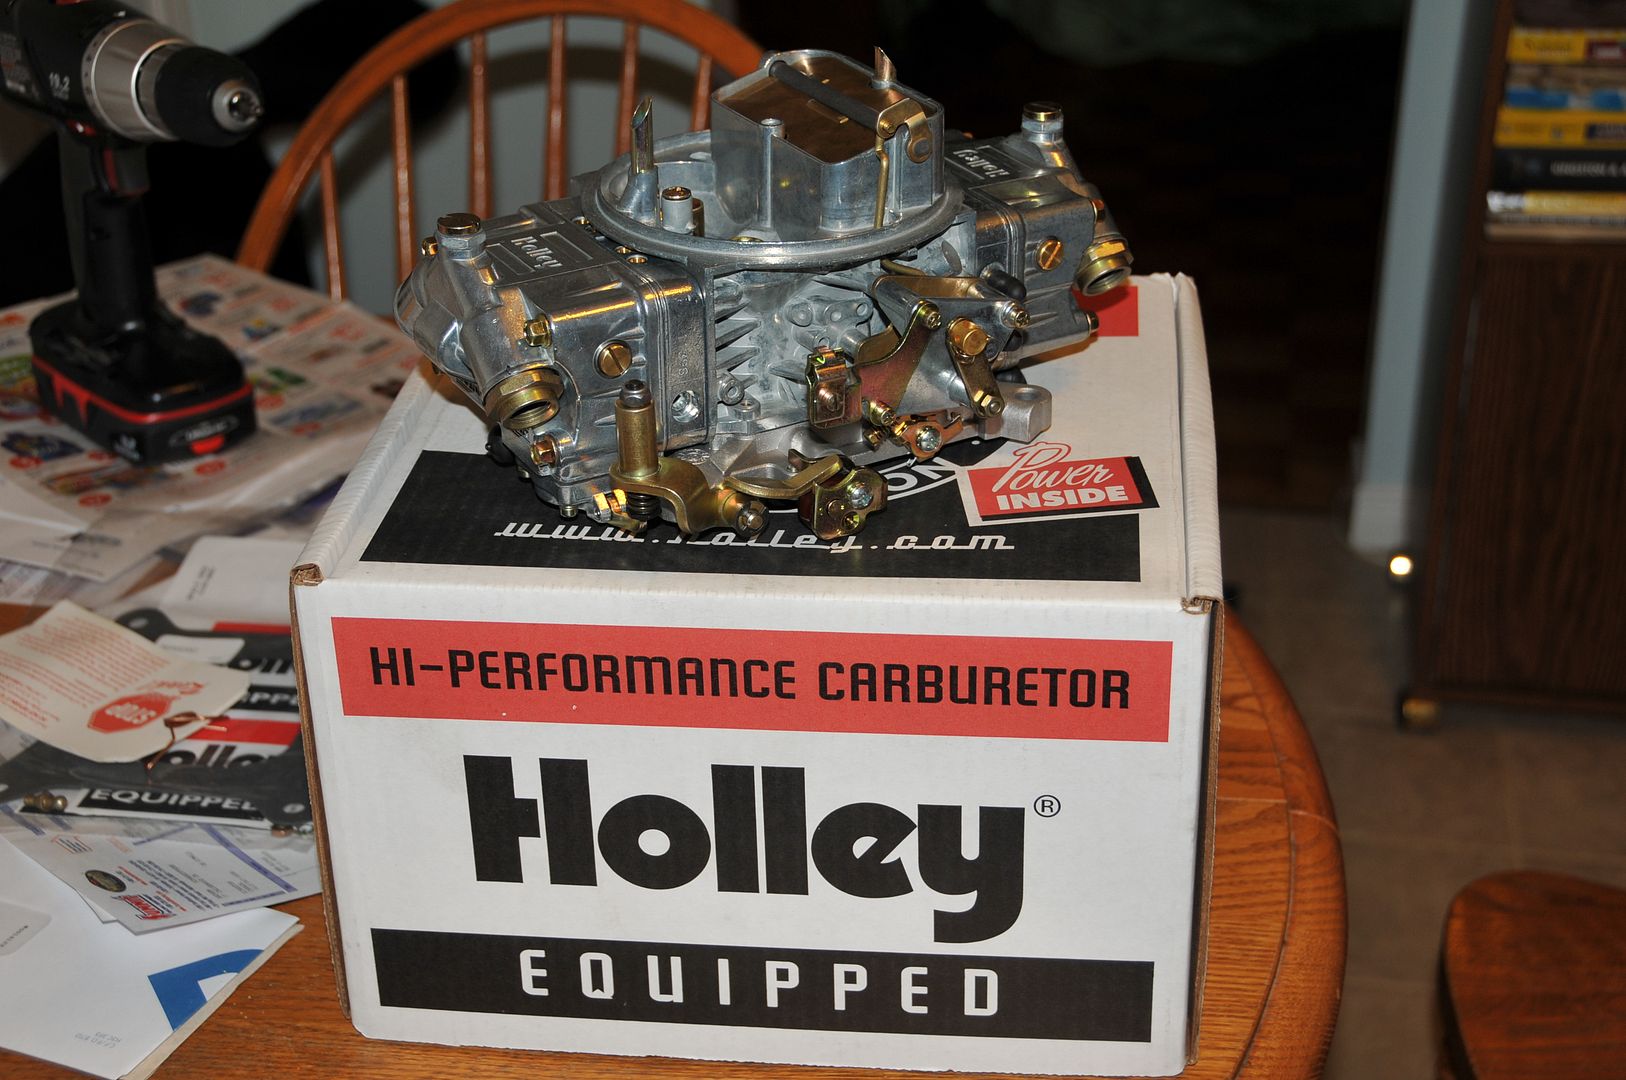
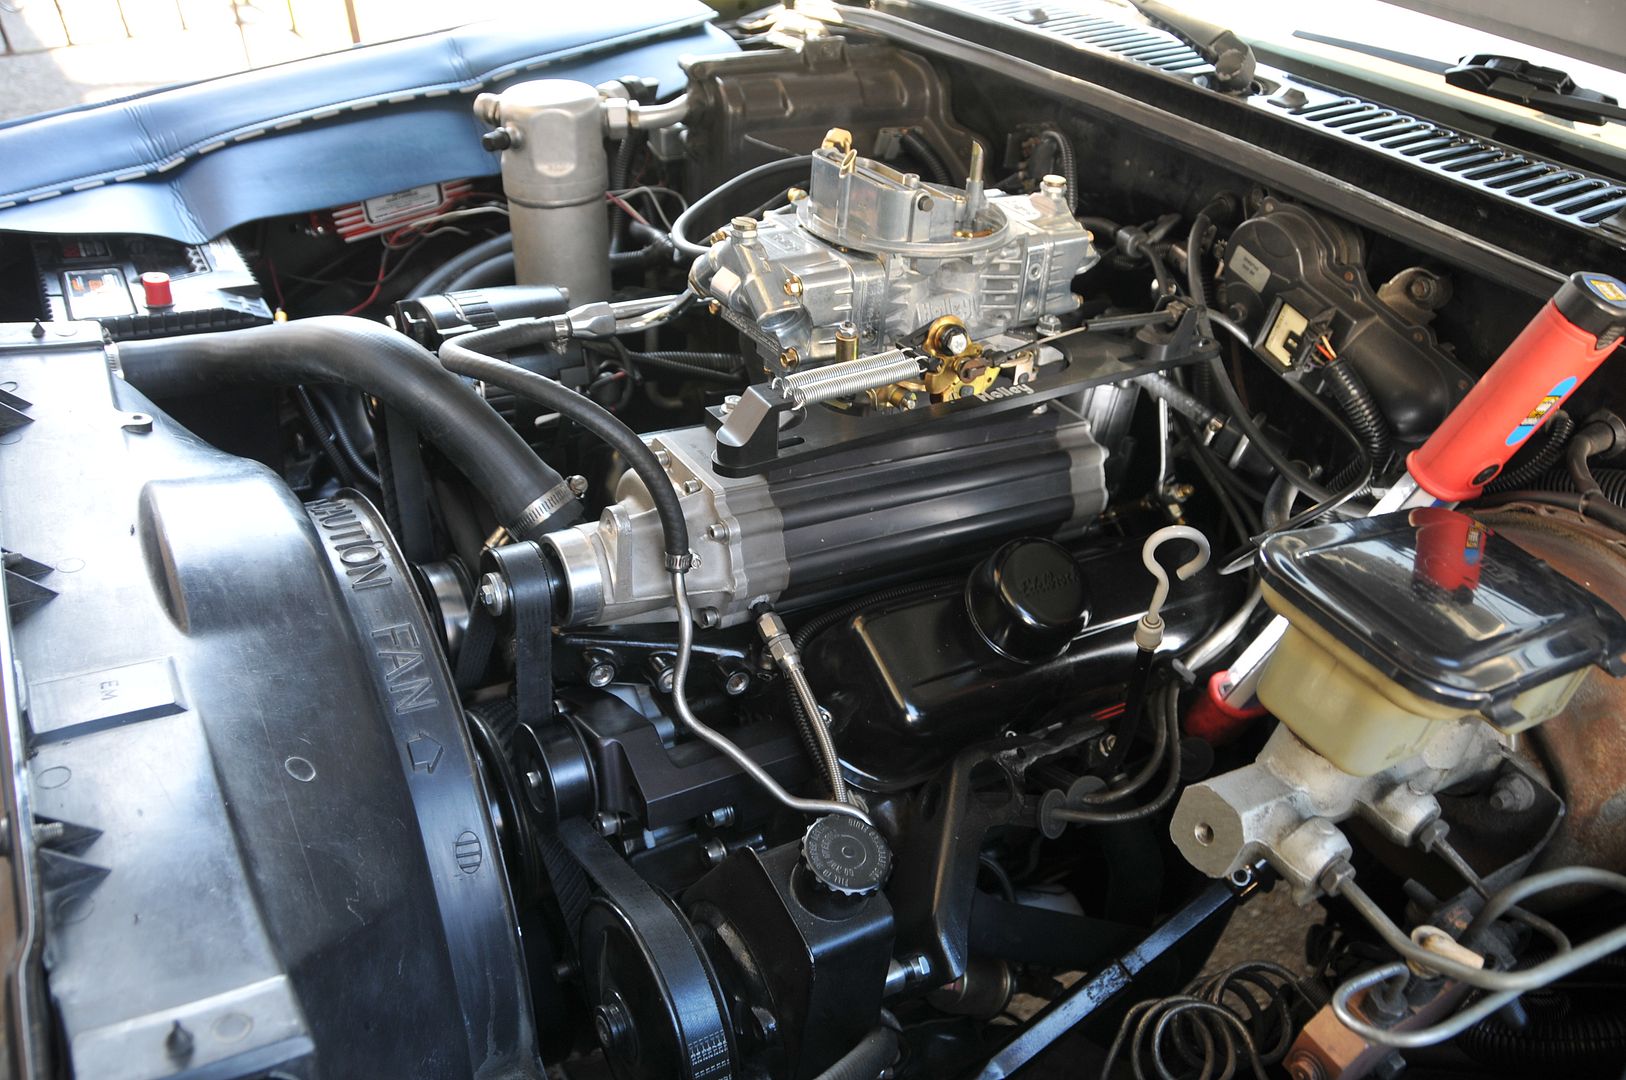
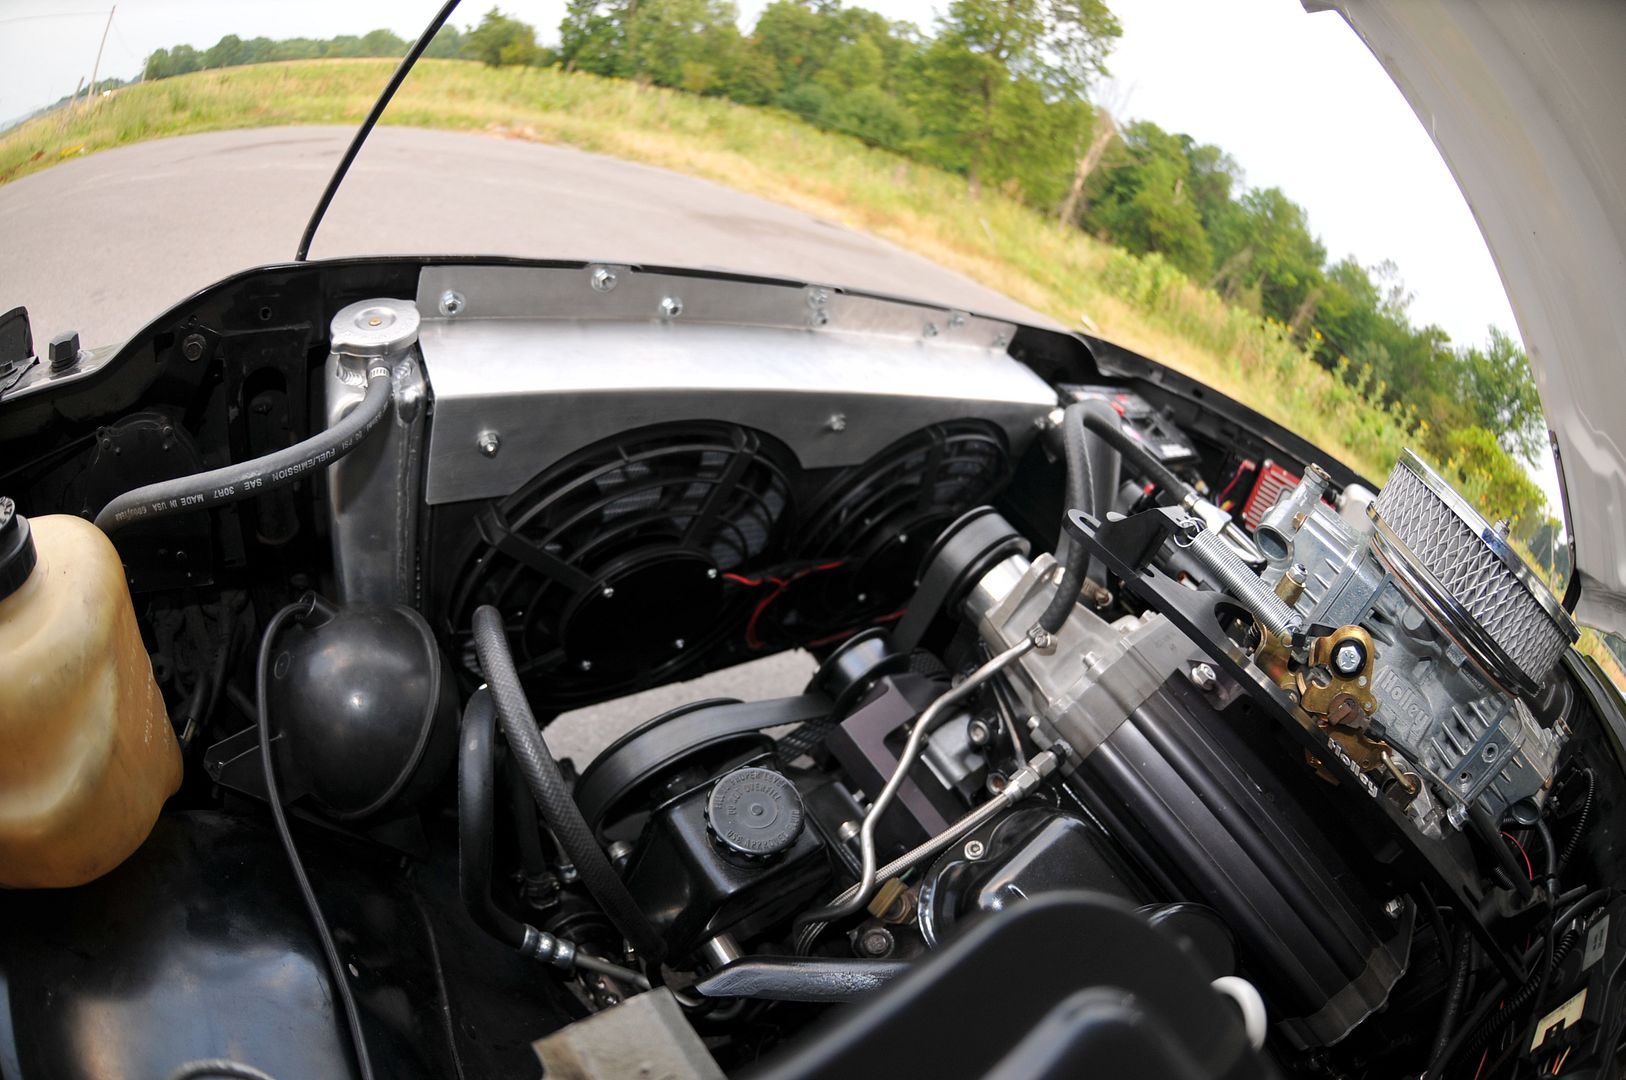
Edelbrock intake w/ 4barrel adapter, 600cfm holley
Index ground 3.1 Crank
Line bored crank internals
Blue printed
bored/honed to 40 thou over
Deck the heads
Runs at 9.5 compression
hedman headers

my first appearance,

boring the block,


We were rebuilding it over the winter and just about every Saturday morning I had this to contend with,


Sheldon honing,


Kayla was getting a bit larger,

another Saturday of snow removal,

My father and Sheldon,

before/after


As well as learning about the 2.8 I got to see some pretty neat stuff happening.
Sheldon's in house dyno,


Kayla is getting larger still,

We weren't in any real rush and my dad was teaching me as we went so progress was slow.

finally back in,

hauling it off to get an alignment and the exhaust done,

After this it was finally home again. I started to tinker around with little things.

continued in next post,
My name is Andrew and I'm from Ontario Canada.
This has been an ongoing project for a little over 3 years now. My father and I both enjoy working on it together. Over that time I've learned quite a bit from him and reading articles online. To be honest when I originally started working on this truck I couldn't properly change a tire.
I have a thread over on s10 forum and I'll copy/paste bits and pieces to get caught up today.
My dad purchased this '84 S10 brand new from GM. It was the only brand new car he has ever bought and I grew up riding around in it.
A couple days after he received it,
After 20 or so years of a fairly hard life and 360,000 kms the little 2.8 was very tired and the truck was getting to a point where it wasn't very drivable especially in the winter. It sat for a couple of years in my Grandma's driveway while my dad decided what he wanted to do with it. He contemplated trading it in for another truck or selling it but it held quite a bit of sentimental value.
At this point and time I was getting to the age where I had saved a little bit of money and was shopping around for cars. I was looking at everything from silvia's to old beat up mustangs. After a while of looking and not finding anything I could really see myself in, one day my dad said he was thinking about selling the '84. I had quite the sentimental attachment to the truck as well. So I told him not to and that I would sink the money into it that I had saved and we could rebuild the 2.8, something he had wanted to do for quite some time.
So here is the truck as it sat at my grandma's
The plan at this point was rebuild the 2.8 with a bit more pep and get the truck to a point where it was reliable again. Little did I know what I was really getting myself into.
We brought the truck to a very good friend of my fathers, Sheldon, who conveniently builds high performance motors for a living,
Sheldon has a very large shop with everything we could ever need,
The very tired 2.8,
rad was toast
This is my father, he'll be in a handful of the pictures.
around this time I bought my dog Kayla,
over the course of many weekends we tore down and rebuilt it,
The plan was;
2.8 block, bored/stroked to 3.2
heads are off a 2.8fi Camaro, 1/8" bigger valves
3/4 cam lifter kit
Edelbrock intake w/ 4barrel adapter, 600cfm holley
Index ground 3.1 Crank
Line bored crank internals
Blue printed
bored/honed to 40 thou over
Deck the heads
Runs at 9.5 compression
hedman headers
my first appearance,
boring the block,
We were rebuilding it over the winter and just about every Saturday morning I had this to contend with,
Sheldon honing,
Kayla was getting a bit larger,
another Saturday of snow removal,
My father and Sheldon,
before/after
As well as learning about the 2.8 I got to see some pretty neat stuff happening.
Sheldon's in house dyno,
Kayla is getting larger still,
We weren't in any real rush and my dad was teaching me as we went so progress was slow.
finally back in,
hauling it off to get an alignment and the exhaust done,
After this it was finally home again. I started to tinker around with little things.
continued in next post,